Plugin configuration
This document will give you a brief introduction about how to set configuration options for plugins, which tags and attributes are available and how to use them.
All configurations is done with help of the config.xml file resulting in the examples shown here.
Introduction
After getting a short introduction by reading the Plugin Quick Introduction, we will now be introduced to the configuration options for plugins. Shopware delivers a big amount of helper functions for generating standard configuration fields in backend.
Creating forms
A plugin configuration can be created with a Resources/config.xml file.
<?xml version="1.0" encoding="utf-8"?>
<config xmlns:xsi="http://www.w3.org/2001/XMLSchema-instance"
        xsi:noNamespaceSchemaLocation="https://raw.githubusercontent.com/shopware5/shopware/5.3/engine/Shopware/Components/Plugin/schema/config.xsd">
    <elements>

    </elements>
</config>
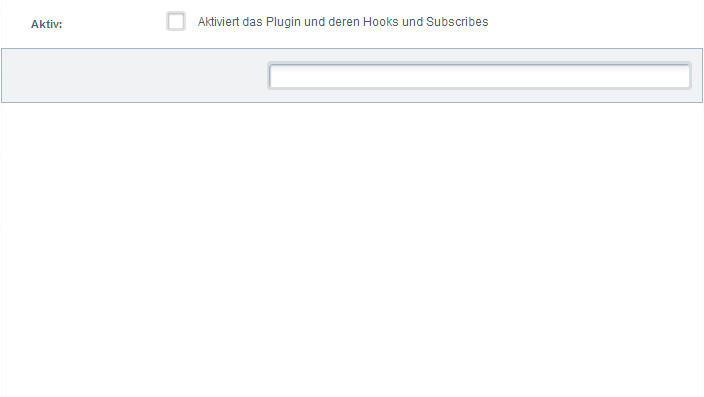
Now add elements in the elements tag.
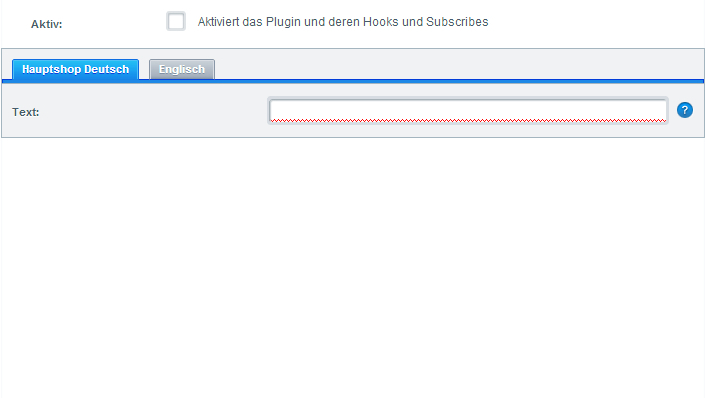
A textfield would be defined as followed:
<?xml version="1.0" encoding="utf-8"?>
<config xmlns:xsi="http://www.w3.org/2001/XMLSchema-instance"
xsi:noNamespaceSchemaLocation="https://raw.githubusercontent.com/shopware5/shopware/5.3/engine/Shopware/Components/Plugin/schema/config.xsd">
<elements>
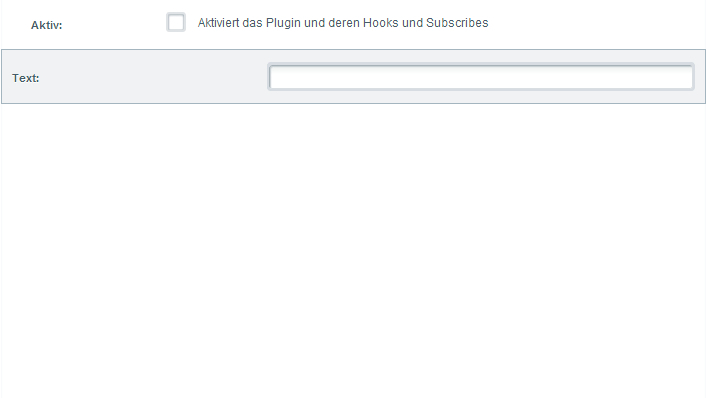
<element required="true" type="text" scope="locale">
<name>simpleTextField</name>
<label lang="de">Text</label>
<label lang="en">Text</label>
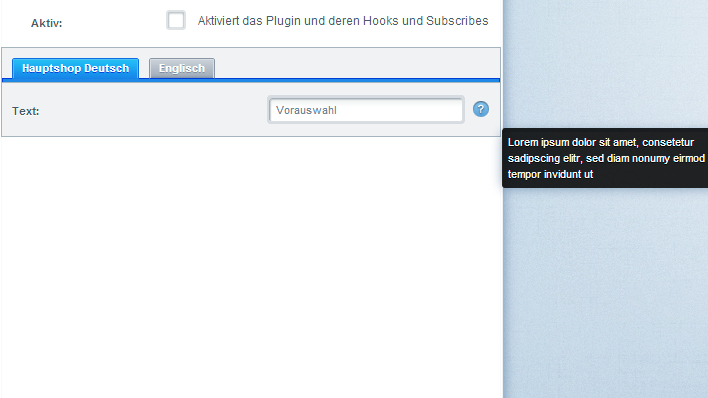
<value>preselection</value>
<description lang="de">Lorem ipsum dolor sit amet, consetetur sadipscing elitr, sed diam nonumy eirmod tempor invidunt ut.</description>
<description lang="en">Lorem ipsum dolor sit amet, consetetur sadipscing elitr, sed diam nonumy eirmod tempor invidunt ut.</description>
</element>
</elements>
</config>
Which would lead to a simple textfield.
Label
The label tag allows to create a simple descriptional label for the form element.
<label lang="de">Dein Label</label>
<label lang="en">Your label</label>
Description
The description tag allows to provide a more detailed description of the configuration element.
<description lang="de">Lorem ipsum dolor sit amet, consetetur sadipscing elitr, sed diam nonumy eirmod tempor invidunt ut.</description>
<description lang="en">Lorem ipsum dolor sit amet, consetetur sadipscing elitr, sed diam nonumy eirmod tempor invidunt ut.</description>
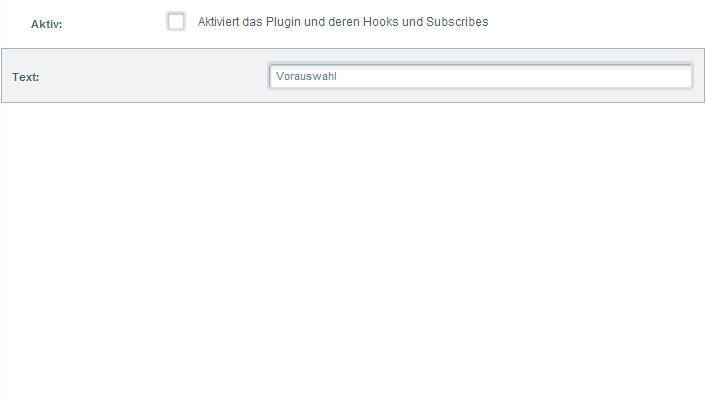
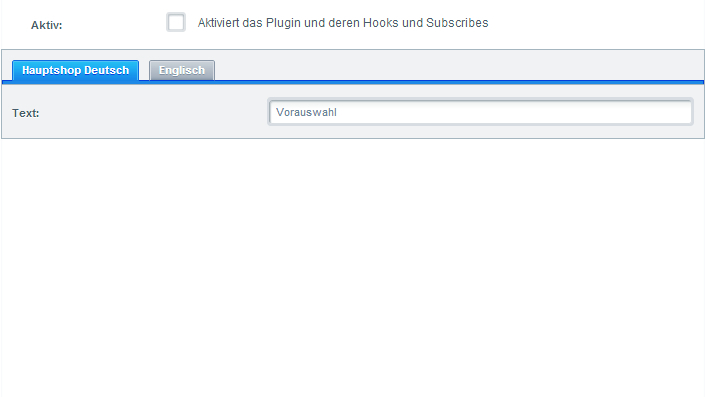
Value
The value tag stands for the default value of the field if this hasn´t been edited yet. It will directly be shown in the configuration element.
<value>preselection</value>
Options
The options tag allows you to set configs of the ExtJs representation of a specific configuration element. See ExtJs Docs
<element type="number">
    <name>testNumber</name>
    <label lang="en">Test Number field</label>
    <options>
        <minValue>0</minValue>
    </options>
</element>
Required
The required attribute specifies whether the configuration item is mandatory or not.
<element required="true" ... >
Scope
With help of the scope attribute it is possible to generate subshop specific configurations. Leaving this option out results in a configuration option that applies for all subshops.
<element ... scope="locale">
You can read more on subshop specific configuration at the end of this article reading the Subshop specific configuration part.
Element Types
Below all supported configuration elements including their design and source code are described again.
Boolean
<element type="boolean">
    ...
</element>

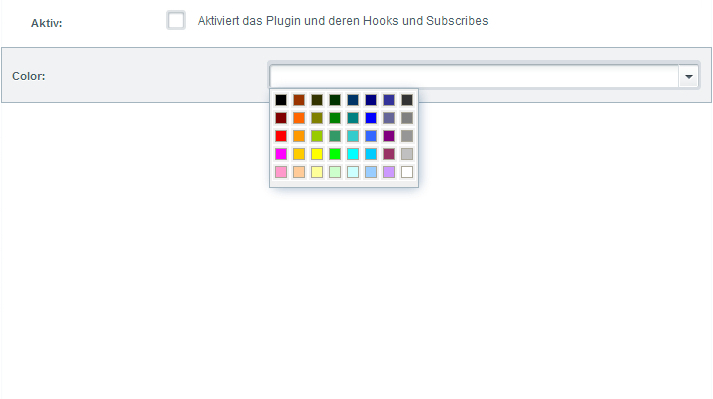
Colorpicker
<element type="color">
    ...
</element>
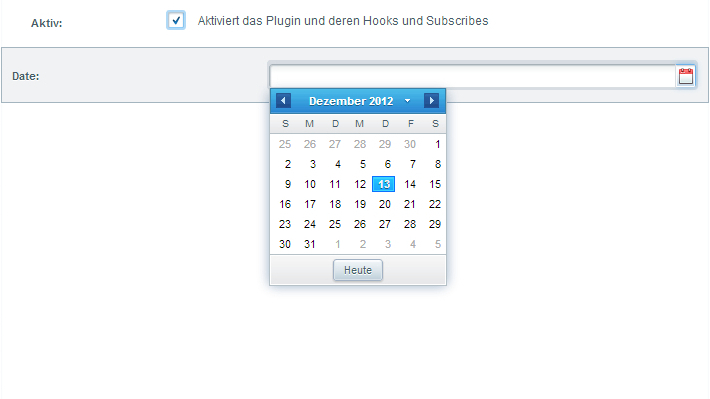
Datefield
<element type="date">
    ...
</element>
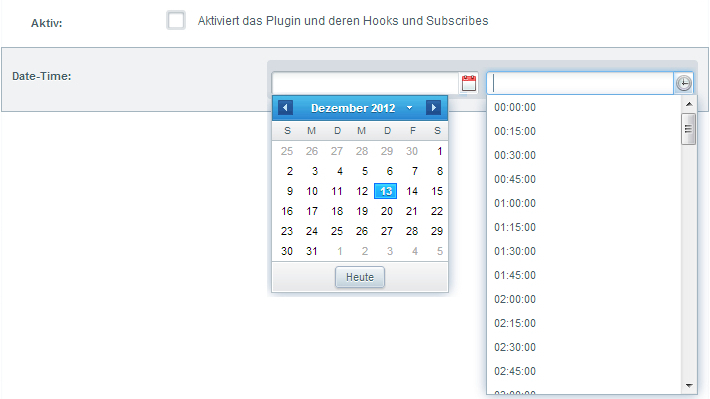
Datetime field
<element type="datetime">
    ...
</element>
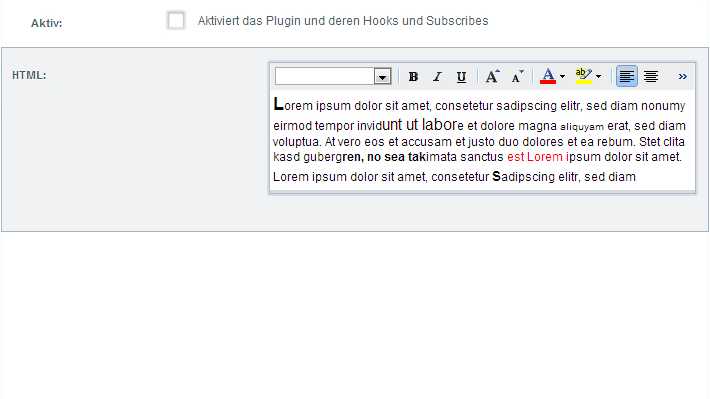
HTML editor
<element type="html">
    ...
</element>
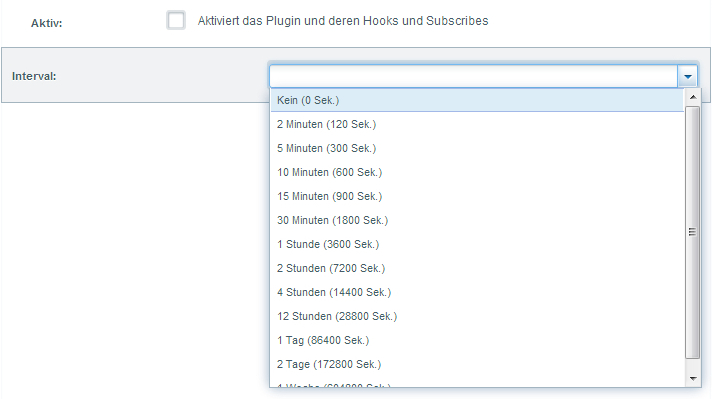
Time interval
<element type="interval">
    ...
</element>
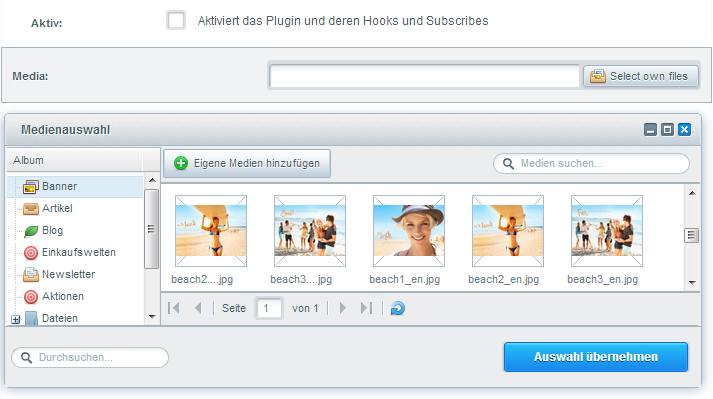
Mediaselection
<element type="mediaselection">
    ...
</element>
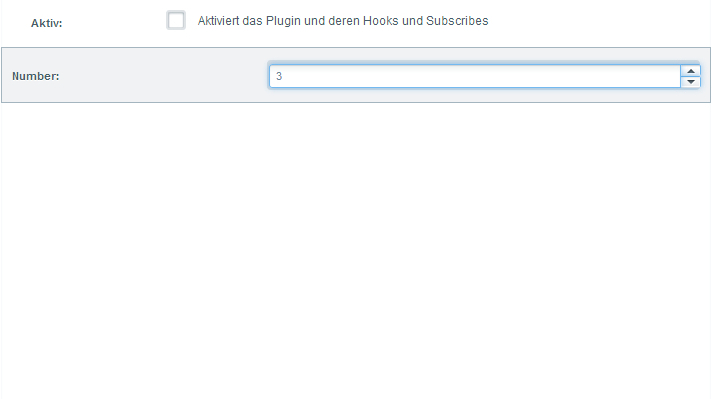
Numberfield
<element type="number">
    ...
</element>
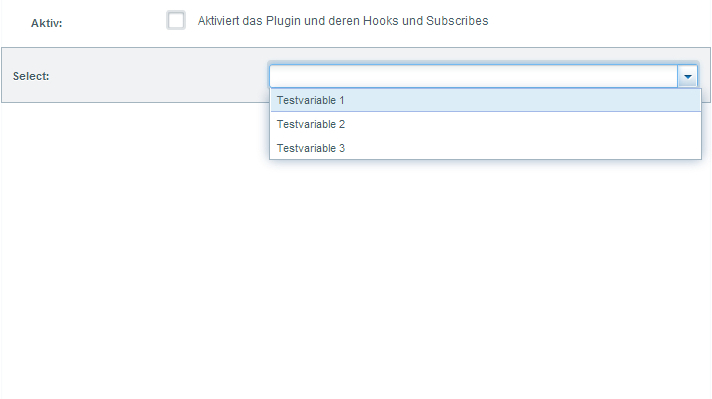
Selectionfield / combobox
<element type="select" >
    <store>
        <option>
            <value>1</value>
            <label lang="de">DE 1</label>
            <label lang="en">EN 1</label>
        </option>
        <option>
            <value>TWO</value>
            <label lang="de">DE 2</label>
            <label lang="en">EN 2</label>
        </option>
        <option>
            <value>3</value>
            <label>Test</label>
        </option>
        <option>
            <value>4</value>
            <label>Test default</label>
            <label lang="de">Test</label>
        </option>
    </store>
</element>
Selectionfield / remote combobox
<element type="combo">
    ...
    <store>Shopware.apps.Base.store.CustomerGroup</store>
</element>

Multi selectionfield / multi combobox / multi remote combobox
To make your selectfield / combobox multiple selectable, you need to create the options node:
<element type="combo">
    ...
    <store>Shopware.apps.Base.store.CustomerGroup</store>
    <options>
        <multiSelect>true</multiSelect>
    </options>
</element>
Remote combobox with own store
Define and create your own ExtJs data store for the backend Plugin configuration
<element scope="shop" type="select">
           ...
            <store><![CDATA[Ext.define('YourPrefix.YourName.Form', {
    extend: 'Ext.data.Store',
    fields: [
        { name:'id', type: 'int' },
        { name:'name', type: 'string' }
    ],
    autoLoad: true,
    pageSize: 25,
    proxy: {
        type: 'ajax',
        url: window.location.href.substr(0, window.location.href.indexOf('backend')) + 'backend/yourController/yourAction',
        reader: {
            type: 'json',
            root: 'data',
            totalProperty: 'total'
        }
    }
    }).create();//new ]]>
            </store>
            <options>
                <valueField>id</valueField>
                <displayField>name</displayField>
                <isCustomStore>true</isCustomStore>
            </options>
</element>
Note that the //new is an important hack to load the store
    public function yourAction()
    {
        $data = [
            ['id' => 1, 'name' => 'foo'],
            ['id' => 2, 'name' => 'bar'],
        ];

        $this->view->assign([
            'data' => $data,
            'total' => count($data),
        ]);
    }
The controller action should assign a associated array.
Textfield
<element type="text">
    ...
</element>

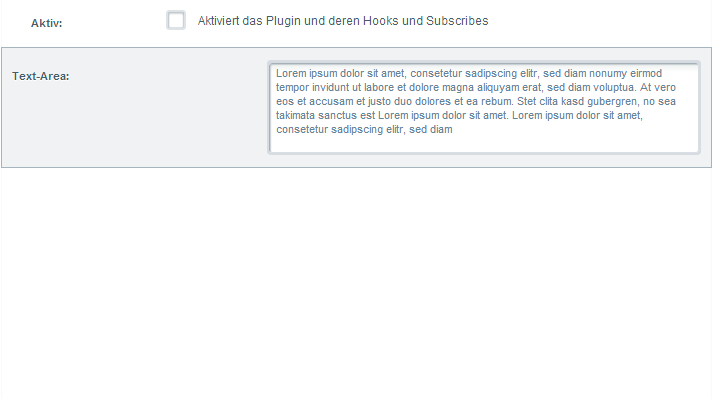
Textarea
<element type="textarea">
    ...
</element>
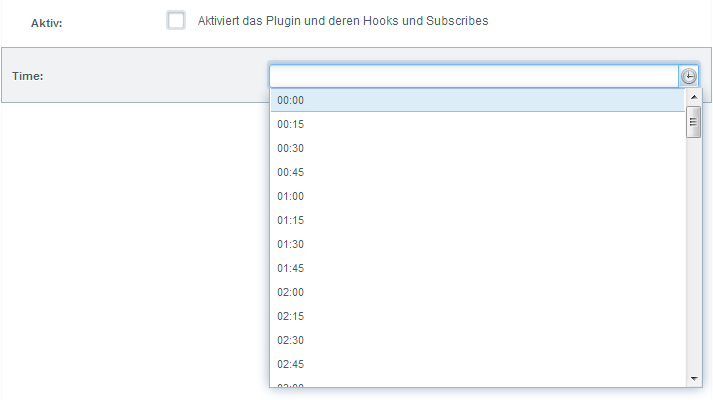
Timefield
<element type="time">
    ...
</element>
Button
<element type="button">
    ...
</element>

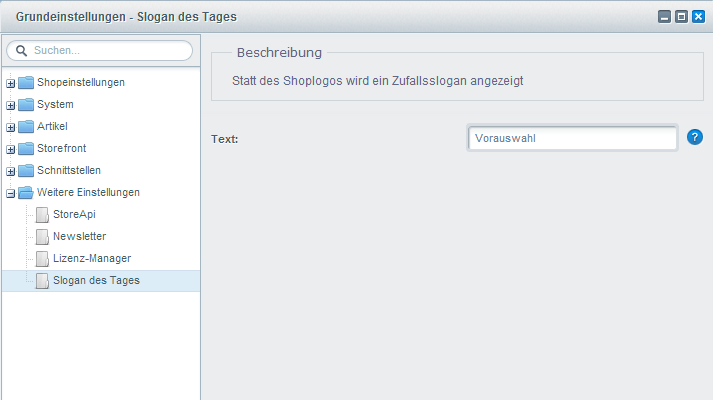
Configure basic settings
The plugin configurations of the various plugins are automatically reachable via the basic settings under the "Additional settings" entry:
<?xml version="1.0" encoding="utf-8"?>
<config xmlns:xsi="http://www.w3.org/2001/XMLSchema-instance"
        xsi:noNamespaceSchemaLocation="https://raw.githubusercontent.com/shopware5/shopware/5.3/engine/Shopware/Components/Plugin/schema/config.xsd">
    <elements>
        <element required="true" type="text" scope="locale">
            <name>simpleTextField</name>
            <label lang="de">Text</label>
            <label lang="en">Text</label>
            <value>preselection</value>
            <description lang="de">Lorem ipsum dolor sit amet, consetetur sadipscing elitr, sed diam nonumy eirmod tempor invidunt ut.</description>
            <description lang="en">Lorem ipsum dolor sit amet, consetetur sadipscing elitr, sed diam nonumy eirmod tempor invidunt ut.</description>
        </element>
    </elements>
</config>
Subshop specific plugin configuration
In this chapter we want to show how to make your configurations subshop specific. To demonstrate this we write a little plugin which replaces the Shopware logo with random text.
<?xml version="1.0" encoding="utf-8"?>
<config xmlns:xsi="http://www.w3.org/2001/XMLSchema-instance"
        xsi:noNamespaceSchemaLocation="https://raw.githubusercontent.com/shopware5/shopware/5.3/engine/Shopware/Components/Plugin/schema/config.xsd">
    <elements>
        <element required="false" type="boolean" scope="shop">
            <name>show</name>
            <label lang="de">Anzeigen</label>
            <label lang="en">Show</label>
            <description lang="de">Lorem ipsum dolor sit amet, consetetur sadipscing elitr, sed diam nonumy eirmod tempor invidunt ut.</description>
            <description lang="en">Lorem ipsum dolor sit amet, consetetur sadipscing elitr, sed diam nonumy eirmod tempor invidunt ut.</description>
        </element>
    </elements>
</config>
With the help of the scope attribute we can assign configurations per subshop. Without the scope attribute the configuration is used in all subshops. We´ve mentioned this earlier this article.
public function onPostDispatch(Enlight_Event_EventArgs $arguments)
{
    $shop = false;
    if ($this->container->initialized('shop')) {
        $shop = $this->container->get('shop');
    }

    if (!$shop) {
        $shop = $this->container->get('models')->getRepository(\Shopware\Models\Shop\Shop::class)->getActiveDefault();
    }

    $config = $this->container->get('shopware.plugin.cached_config_reader')->getByPluginName('PluginName', $shop);
    if (!(bool) $config['show']) {
        return;
    }

    $controller = $arguments->getSubject();
    $view = $controller->View();

    $view->assign('swagSubshopVisibility', 'Test text.');

    $view->addTemplateDir($this->pluginBasePath . '/Resources/views/');
}
Within the onPostDispatch() method in a subscriber read the configuration with help of the service. Afterwards we test for the just created show attribute. If this attribute is empty the method ends and the plugin will not be executed or shown any further. If show is set the template is loaded and assigned via smarty.
{extends file="parent:frontend/index/logo-container.tpl"}
{block name="frontend_index_logo"}
    <div style="padding-top: 10px">
        <h1>{$swagSubshopVisibility}</h1>
    </div>
{/block}
Our new template extends the parent logo-container.tpl and overwrites the frontend_index_logo block and sets the text. Now we can open the plugin configuration via Plugin Manager and configure it differently for every subshop.
What's next? Continue reading about the new Shopware 5.2 Plugin System.